Deviled eggs are more than just a classic party appetizer; they are a timeless culinary delight that graces tables from casual potlucks to elegant holiday gatherings. Their enduring popularity lies in their delicate balance of creamy texture, savory tang, and endless versatility. While they might seem simple, achieving that perfectly smooth, rich filling and beautifully presented egg white requires a few insider tricks. This comprehensive guide will walk you through every step, revealing the pro hacks and simple ingredients needed to create easy deviled eggs with an irresistibly creamy texture every single time.
The Foundation: Mastering the Hard-Boiled Egg for Deviled Eggs
The journey to perfect deviled eggs begins long before you even consider the filling. The quality of your hard-boiled eggs is paramount, directly impacting both the texture and appearance of the final dish. Forget about jammy yolks for this recipe; what we need here are yolks cooked to a firm, pale yellow state, essential for a smooth and lump-free filling.
The Art of Boiling: A Step-by-Step Guide
There's a science to boiling eggs, especially when they're destined to become the star of your deviled eggs. Our method ensures even cooking and easy peeling:
- Prepare Your Pot: Choose a pot large enough to accommodate your eggs in a single layer without overcrowding. Giving them space to move prevents cracking and ensures uniform cooking.
- Boil and Remove: Bring a pot of water to a rolling boil. Once boiling, remove the pot from the heat immediately. This prevents the vigorous boiling from jostling and cracking the eggs.
- Add Eggs Gently: Using a slotted spoon, carefully lower your cold eggs into the hot water. Starting with cold eggs and hot water helps prevent the dreaded green ring around the yolk.
- Cover and Stand: Cover the pot with a lid and let the eggs stand in the hot water for exactly 12 minutes. This residual heat gently cooks the yolks to firm perfection without overcooking the whites.
- Ice Bath Immersion: As soon as the 12 minutes are up, use that slotted spoon again to transfer the hard-cooked eggs directly into a bowl of ice water. This crucial step, known as "shocking," immediately halts the cooking process, preventing rubbery whites and making the eggs much easier to peel. Let them cool in the ice bath for at least 2-3 minutes.
The Ice Bath: Your Secret Weapon for Easy Peeling
Once cooled, peeling can be the most frustrating part of making deviled eggs, but it doesn't have to be! The ice bath is your best friend here, as the rapid temperature change helps the membrane separate from the egg white.
- Gentle Cracking: Gently tap the wide end of the cooled egg on a flat surface until the shell cracks.
- Roll to Loosen: Roll the egg lightly between your palms or on the counter with gentle pressure to create a network of fine cracks across the entire shell.
- Peel Under Water: Start peeling from the wider end. If you encounter stubborn pieces, a quick dip in the ice water (or under running water) can often help loosen them immediately. The water seeps under the membrane, allowing the shell to slide right off.
For those who prefer an alternative cooking method, steaming eggs yields equally impressive results for deviled eggs. Simply bring about an inch of water to a simmer in a shallow pot with a steamer basket. Arrange your eggs in a single layer, cover, and steam over low to medium-low heat for 12 to 15 minutes. Transfer immediately to an ice bath, and peel when ready. These expert boiling and peeling tips are key to beautiful, unblemished Elevate Your Deviled Eggs: Expert Boiling, Peeling, and Filling Tips.
Crafting the Irresistibly Creamy Deviled Egg Filling
With perfectly cooked and peeled eggs in hand, it's time to create the star of the show: the creamy, dreamy filling. This is where simple ingredients combine with a few "pro hacks" to achieve that signature luscious texture.
Essential Ingredients for Classic Creaminess
The beauty of classic deviled eggs lies in the simplicity of its core ingredients. Here’s what you’ll need for a basic recipe, yielding about 12 deviled egg halves (from six boiled eggs):
- Egg Yolks: The heart of the filling, providing richness and body.
- Mayonnaise: The primary binder and source of creaminess. Use a good quality mayonnaise for the best flavor.
- Prepared Mustard: Yellow mustard is classic, but a touch of Dijon can add a sophisticated tang. It provides a crucial acidic counterpoint.
- White Vinegar: A small amount brightens the flavor and cuts through the richness of the yolk and mayo. Apple cider vinegar can also be used.
- Granulated Sugar (Optional): A pinch of sugar might seem unusual, but it subtly enhances the overall flavor profile, balancing the acidity and savory notes.
- Salt and Freshly Ground Black Pepper: To taste, these are non-negotiable for seasoning.
Some recipes, like those popular for holiday parties, even add finely diced onion and celery to the creamy mayonnaise filling for a delightful textural contrast. Don't be afraid to experiment!
Pro Hacks for a Velvety Smooth Texture
Achieving a smooth, lump-free filling is the hallmark of truly great deviled eggs. These techniques will help you get there:
- Separate Whites and Yolks: After peeling, cut each egg in half. You can choose to cut them lengthwise or crosswise – it's a matter of preference. Gently scoop out the yolks into a medium-sized bowl, leaving the whites intact.
- Mash Yolks First (The Key Hack!): Before adding any wet ingredients, use a fork to thoroughly mash the yolks until they are a fine, crumbly powder. This is perhaps the most important hack for preventing lumps. For an ultra-smooth filling, push the mashed yolks through a fine-mesh sieve.
- Gradual Ingredient Addition: Now, add your mayonnaise, mustard, vinegar, and sugar (if using) to the mashed yolks. Start with the recommended amounts, then mix well.
- Season and Mix: Stir in your salt and pepper. Mix everything together until it's completely smooth and creamy. Use the back of your fork or a spatula to press out any small lumps against the side of the bowl.
- Avoid Over-mixing: While you want a smooth consistency, be careful not to over-mix. Over-mixing can incorporate too much air, making the filling appear foamy or causing it to separate if left too long. Mix just until combined and smooth.
- Adjust Consistency: If your filling seems too thick, add a tiny bit more mayonnaise, or even a splash of milk or cream, a teaspoon at a time, until you reach your desired creamy consistency.
These simple steps, particularly the initial mashing of the yolks, are your secrets to a perfectly luscious filling. For more insights on this, check out Mastering Deviled Eggs: Secrets for Perfect Boiling & Creamy Filling.
Elevating Your Deviled Eggs: Flavor Variations & Presentation
Once you've mastered the classic, the world of deviled eggs opens up to endless possibilities. A little creativity can transform your appetizer from good to unforgettable.
Simple Additions for Unique Flavors
Don't be afraid to customize your filling to suit your taste or occasion:
- Herbal Freshness: Finely chopped fresh herbs like chives, dill, or parsley can brighten the flavor and add a touch of color.
- A Hint of Heat: A pinch of cayenne pepper, a dash of hot sauce, or a tiny amount of finely minced jalapeño can give your deviled eggs a subtle kick.
- Smoky Depth: Smoked paprika (instead of regular) or a sprinkle of crispy, crumbled bacon bits adds a wonderful smoky dimension.
- Tangy Bites: Tiny capers or finely diced cornichons can provide an extra layer of briny tang.
- Umami Boost: For a deeper savory note, consider a dash of Worcestershire sauce or even a tiny amount of anchovy paste (if you're adventurous!).
Picture-Perfect Piping & Garnish
Presentation can make all the difference. While simply spooning the filling back into the egg whites is perfectly fine, piping creates an elegant, professional look.
- Piping Perfection: Transfer your creamy filling into a piping bag fitted with a star tip (or simply snip a corner off a zip-top bag). Pipe the filling neatly back into the egg white halves, creating attractive swirls or mounds.
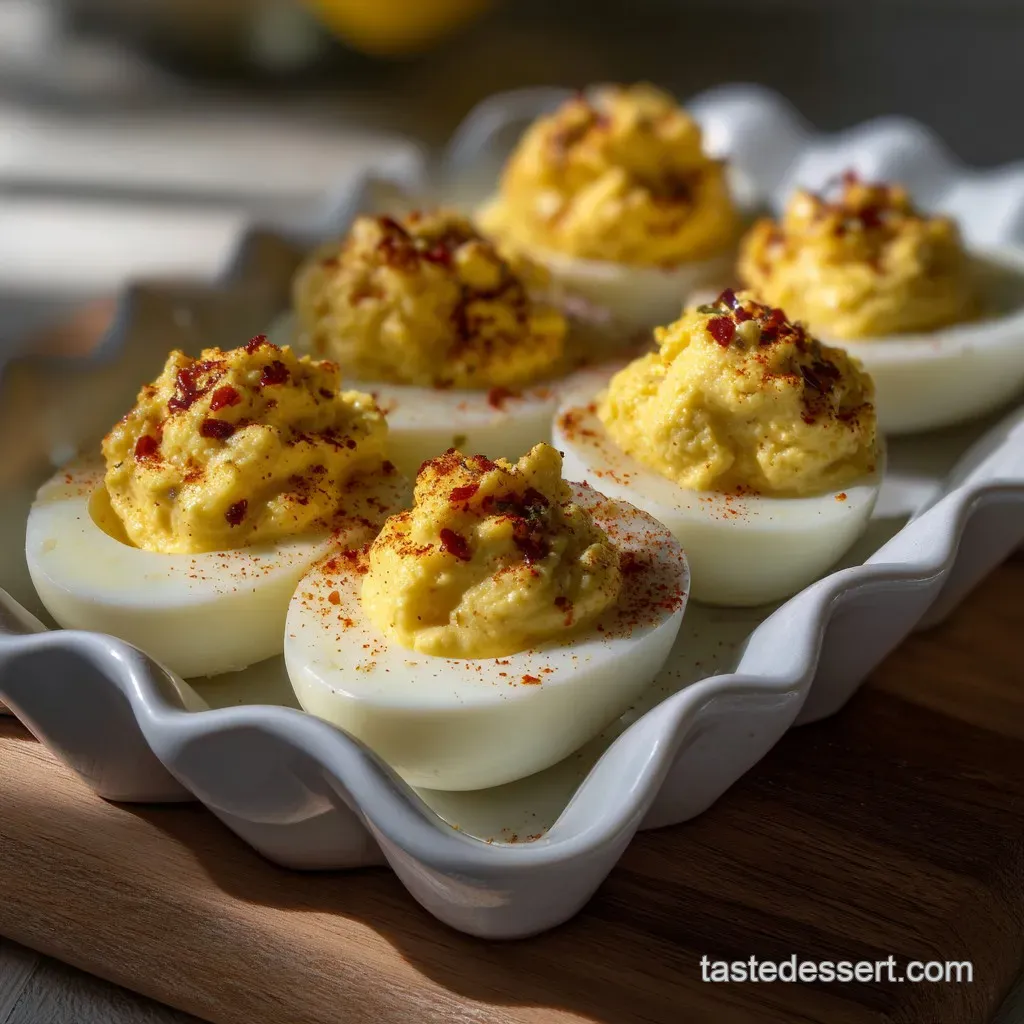
- Classic Garnishes: A sprinkle of paprika is the traditional and timeless garnish, adding a pop of color. Smoked paprika also works beautifully.
- Fresh Finishes: Top with a small sprig of fresh dill, a tiny snip of chive, or a sprinkle of finely chopped parsley for visual appeal and fresh aroma.
- Creative Toppings: Consider a tiny sliver of pickle, a crispy bacon bit, or even a few salmon roe for a gourmet touch.
Always remember to chill your deviled eggs for at least 30 minutes before serving. This allows the flavors to meld beautifully and the filling to firm up slightly, making them even more enjoyable. Store leftover deviled eggs covered in the refrigerator for up to 2-3 days.
Making delicious, creamy deviled eggs is a rewarding culinary endeavor that brings joy to any gathering. By mastering the art of boiling eggs, understanding the simple ingredients, and applying these practical pro hacks for a smooth filling, you can confidently create an appetizer that earns rave reviews every time. Don't be afraid to experiment with flavors and presentation – the beauty of deviled eggs lies in their adaptability and timeless appeal. So, roll up your sleeves, crack some eggs, and get ready to enjoy the creamy, tangy perfection of homemade deviled eggs!
